

Creating your first automation
An automation consists of two parts: the start (what causes the automation to begin?) and the content (what happens next?). You put both parts together in the editor and turn the automation on as soon as it is complete.
How to create an automation
Create a new automation
On the ‘Automations’ page, click ‘New automation’ and give your automation a meaningful, recognisable name. You can change this name later by clicking on it in the top left of the automation.
You will then enter the editor. The actions are on the left, and the empty automation is in the middle.
Add a startevent
Every automation starts with at least one startevent. Click ‘Add startevent’ and choose the type of event that will start the automation. Then follow the screens for that choice. When you save, a block with a short summary appears.
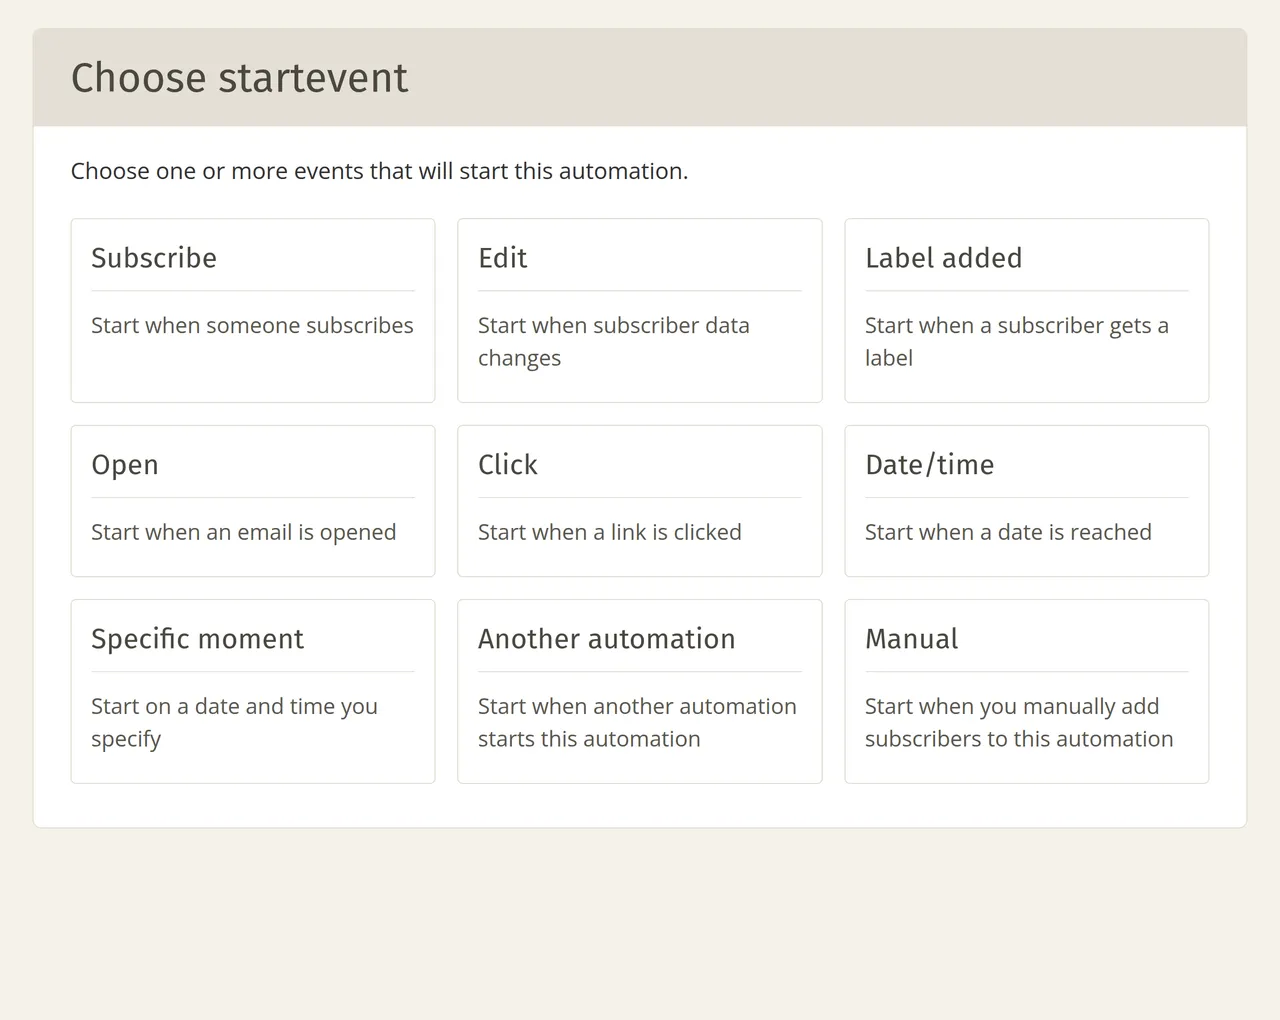
You can edit a startevent by clicking on it. You can delete it using the small cross that appears when you hover over the block with your mouse.
You can add multiple startevents. The automation will then start as soon as at least one of those startevents is met (an OR function). You can read about the available startevents and what to configure for each type in Choosing a starting moment.
Drag the actions into place
Drag an action from the left to the plus sign in the middle to specify what should happen after the startevent. You can place as many blocks as you like, in any combination. You can pick up a placed block and move it somewhere else.
Click on a block to open its settings. If there is a red border around it, the content is not yet complete.
You can undo and restore any change, such as placing or deleting a block or adjusting settings, using the Undo and Redo buttons at the top.
Activate the automation
An automation only runs once you turn it on. To do this, click ‘Activate’ next to the relevant automation in the ‘Automations’ overview. You can stop it again using ‘Pause’.
If you edit an automation that is already running, those changes will only take effect after you have clicked ‘Activate changes’. See: Activating or pausing an automation.
The actions
There are eleven actions. Four of them perform an action (such as sending an email), four update your subscriber’s details, and three determine when and how the automation continues.
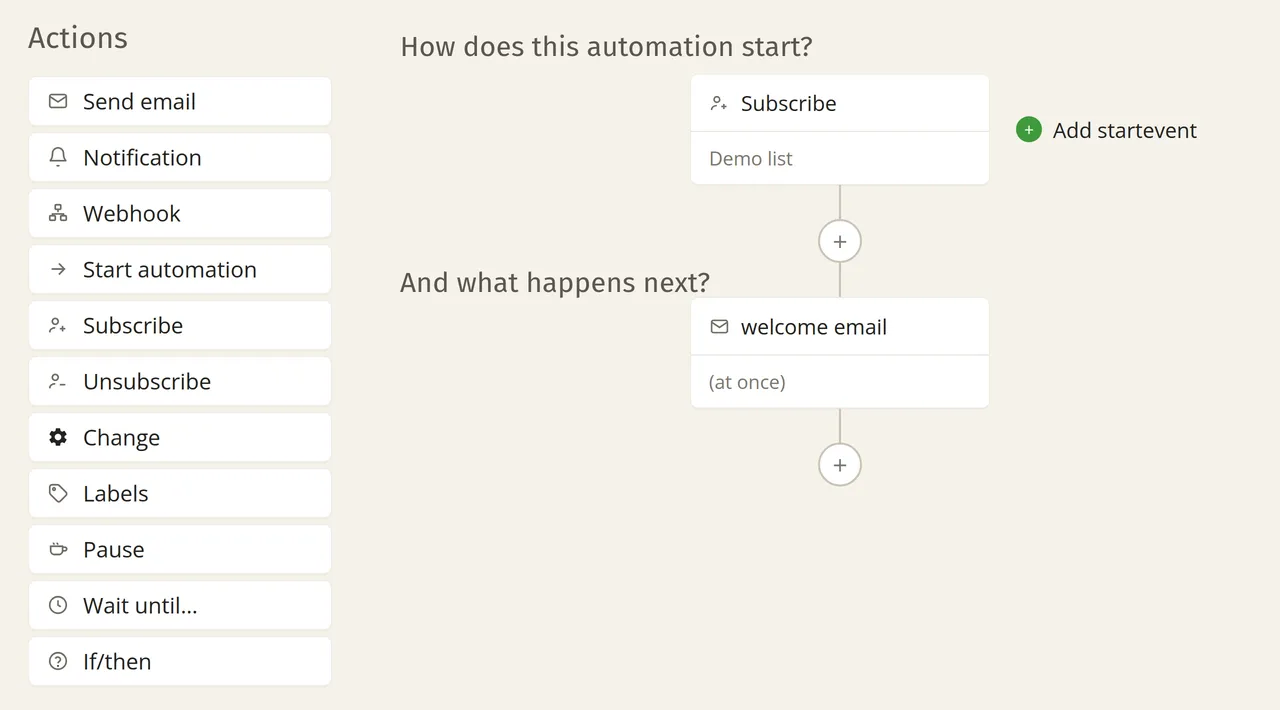
The emails sent by an automation belong to that automation and not to your campaigns. You create and manage them via ‘View emails’, as described in Emails in an automation.