

Automatically sending a welcome email or freebie
With the starting point ‘Subscribe’ and the action ‘Send email’, you can immediately send something to everyone who signs up: a welcome message or a freebie such as a free e-book. You can read how the editor works and how to create an automation in Start your first automation.
For a freebie, you often use a separate form so that those sign-ups arrive in their own list. You can do this with a standalone subscribe form. If you want people to also be able to sign up separately for your newsletter on that form, you can add an extra checkbox to the form.
Building the automation
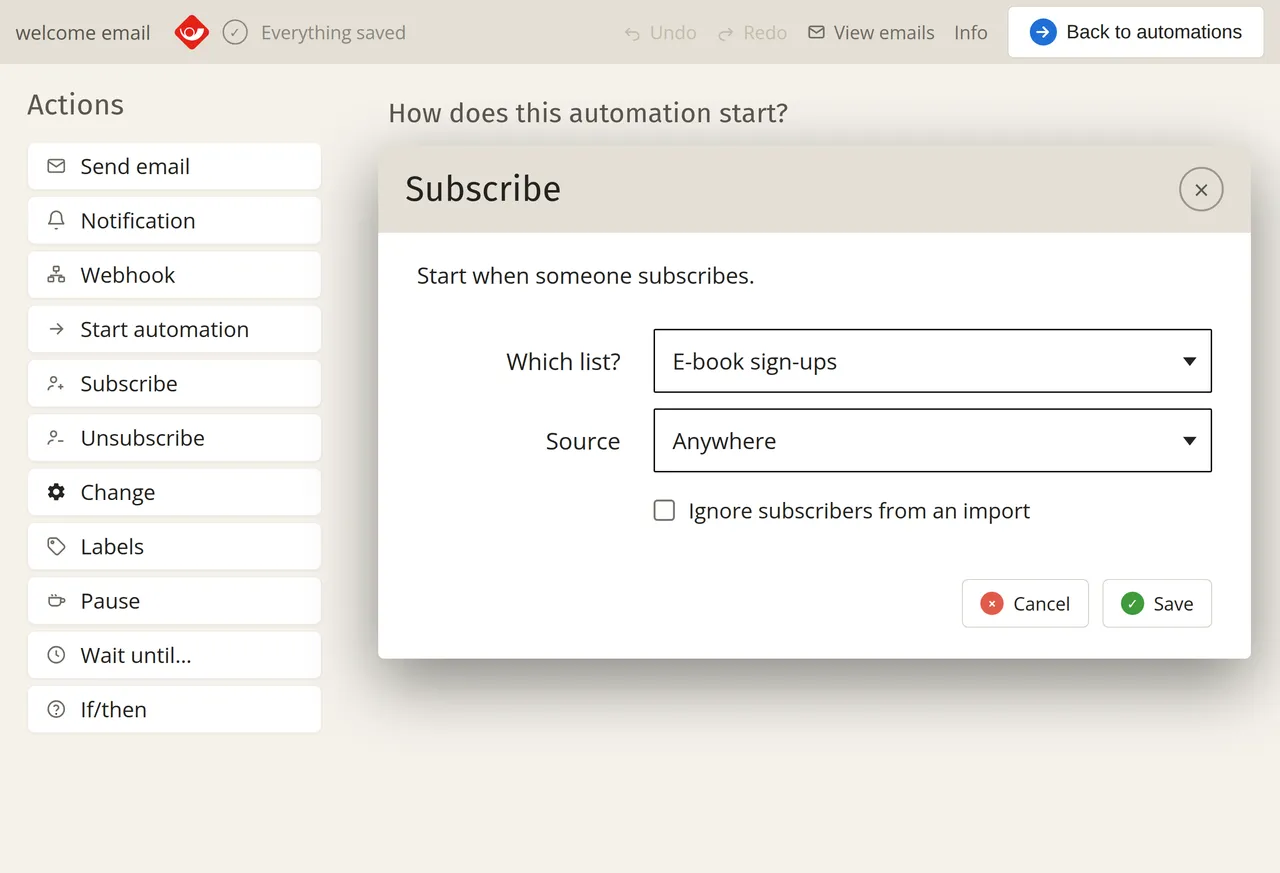
Click on ‘Add startevent’ and choose ‘Subscribe’. Select the list where the sign-ups come in, for example the list for the e-book. If you leave ‘Source’ set to ‘Anywhere’, the automation will start as soon as a subscriber is added to the list, regardless of how that happens. If you only want sign-ups via a subscribe form to count, choose ‘Outside application’. You can find out what other starting points there are in Choosing a starting moment.
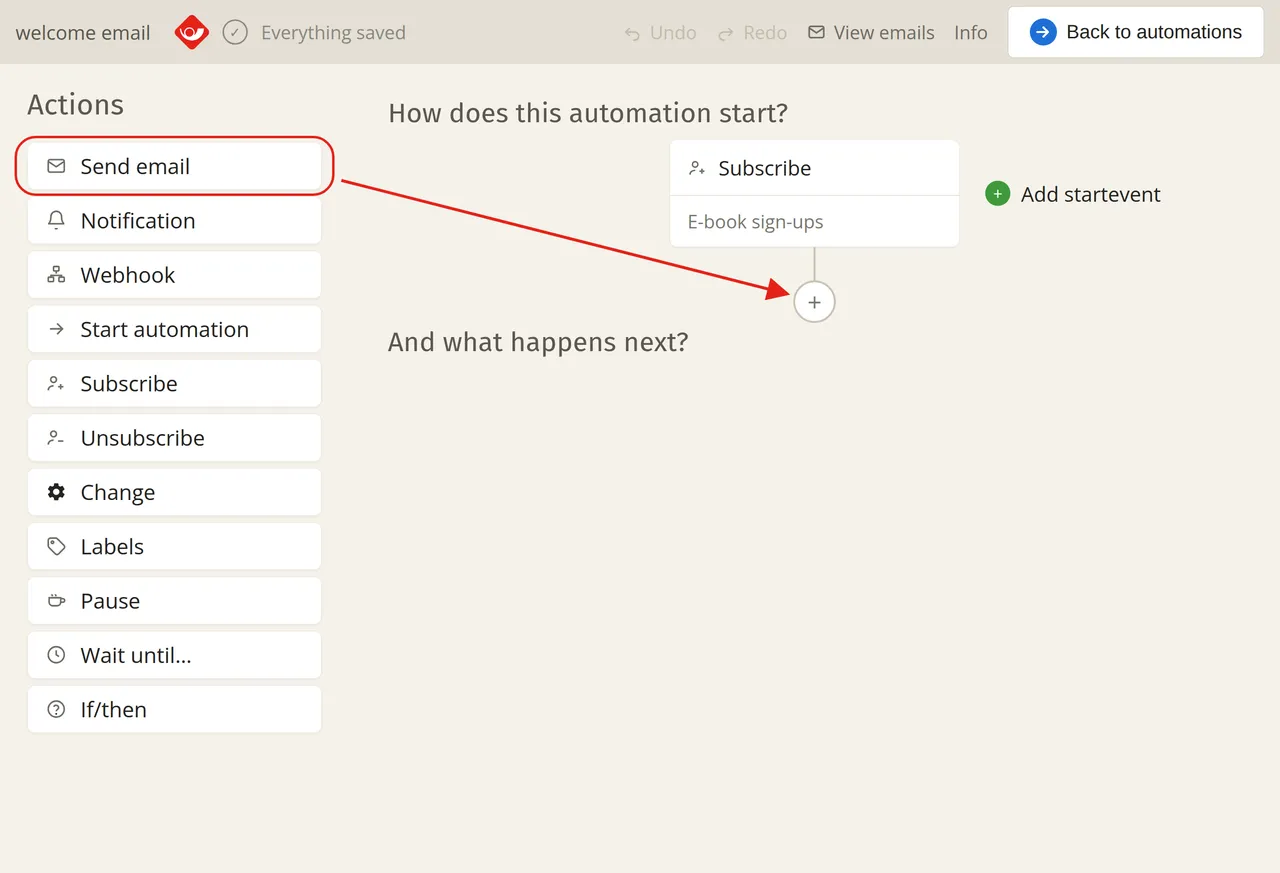
Drag the action ‘Send email’ to the plus sign below the starting point.
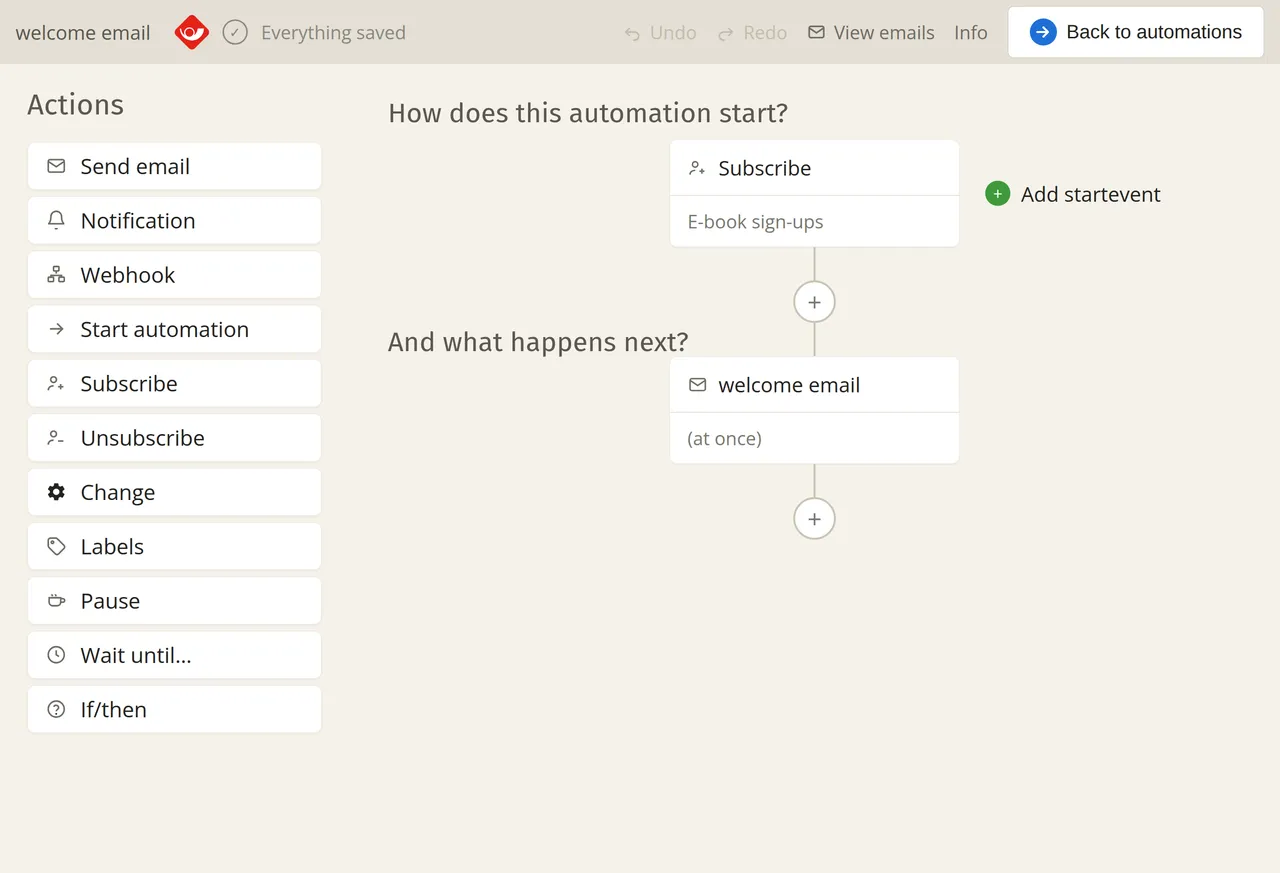
Check whether the email is positioned below the starting point.
Creating the email
Click on the placed block and click on ‘Create new email’. You will then go through the four steps from Emails in an automation. What else you can configure per email is explained in Send email to the subscriber.
You do not send a freebie as an attachment, instead you link to it. For example, you can upload your e-book as a PDF to Media (see Saving files in Media) and link to it in your email behind a button, a piece of text or an image. You can also link to a file or a page on your own website.
Activating the automation
As long as the automation is switched off, nothing happens. Go to the ‘Automations’ overview and click on ‘Activate’ for this automation.
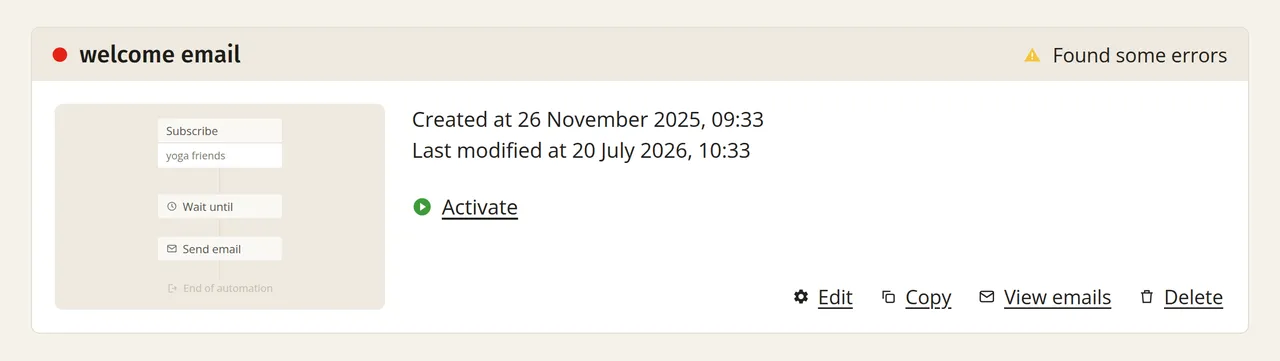
From that moment on, every new subscriber will receive the email. If you edit the automation later, those changes will only take effect after you have clicked on ‘Activate changes’. You can read more about this in Activating or pausing an automation.