

Creating a feedback button with thumbs in your newsletter
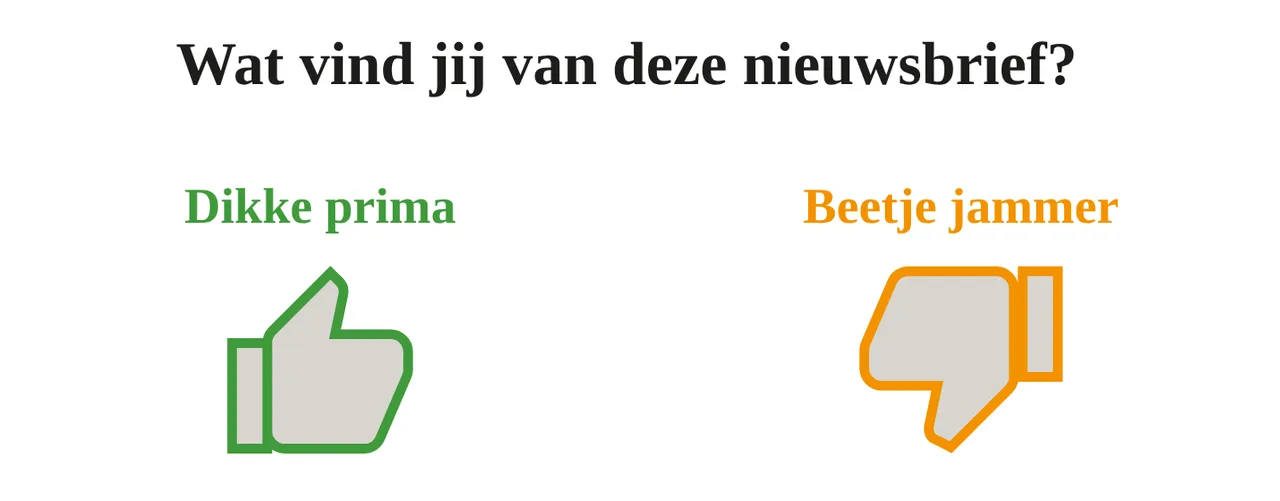
Laposta does not have a ready-made feedback button, but you can create one yourself by combining a few features. You create two lists, each with a standalone subscribe form: one for a positive response and one for a negative response. In your newsletter, you place two images that link to these forms. When a subscriber clicks one of those images, the corresponding form opens in a new window where your subscriber can leave a tip or suggestion.
Creating a list for positive responses
Create a new list, in this example ‘Feedback-positive response’. Via Settings → Fields, add the extra fields ‘Name’ and ‘Tip or suggestion’ as text fields, and remove the default fields ‘First name’ and ‘Last name’.
In this list, go to Enrich → Subscribe and click ‘Start’ in the top block. This opens the standalone subscribe form: the window your subscribers see when they click the green thumb in the newsletter.
In the form, edit the logo, the title, the texts and the button.

Next, edit the thank you page that your subscriber sees after submitting the form.

Save the form and return to the overview of subscribe forms for this list.
Creating a second list for negative responses
When you copy the first list, the customised fields and the designed form are copied along automatically. This ensures that both forms look alike.
Copy the list
On the ‘Subscribers’ page, go to the list you have just created and select ‘Copy without subscribers’. The list is still empty, so ‘Copy with subscribers’ will give the same result here.
Placing the buttons in your newsletter
The links to both forms can be found in the relevant list under Enrich → Subscribe. Use the version that includes the variable for the email address. The recipient’s email address will then already be filled in on the form.
In the drag & drop editor, place a Columns block with two columns of equal width: on the left for the positive button and on the right for the negative button.
Put a title line in the left column and set the text colour, which is green in this example. Below that, place an ‘Image’ block, select the image from your computer and paste the link to the positive form behind it.
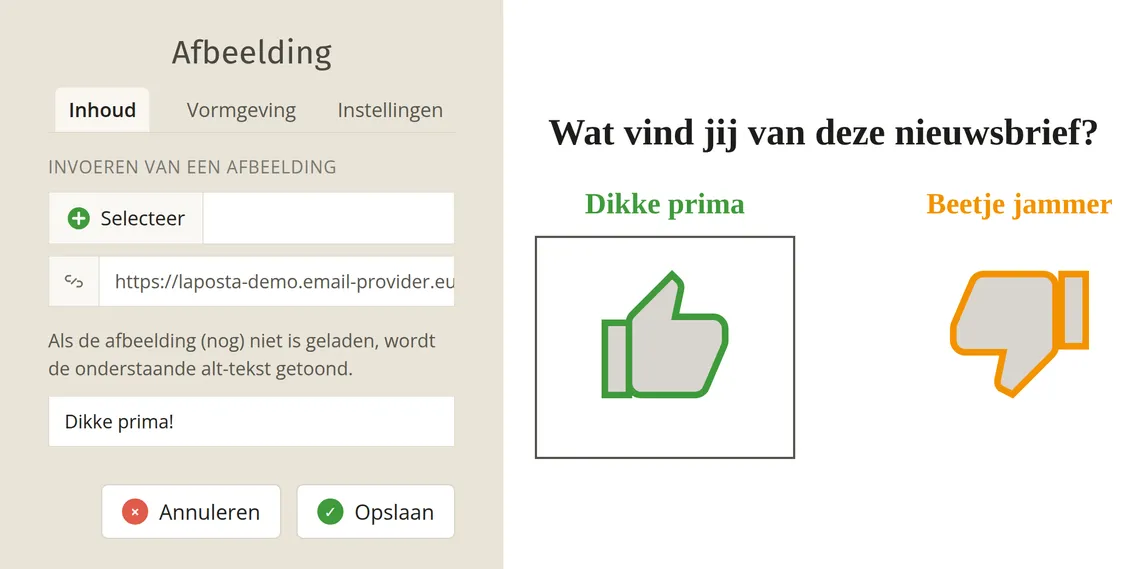
Copy both blocks to the right column and replace the image, the colour and the link there with those of the negative form. You can also drag new blocks to the right column and fill those in. Finally, adjust the design for a good display on desktop and on a mobile phone.
Viewing the feedback
A click on one of the two images counts as a link click. You can see these clicks as an overlay on your newsletter under Results → Campaigns → Links → Overlay. If you hover your mouse over a percentage, you will see the number of subscribers and the total number of clicks below it.
Anyone who actually fills in the form is added as a new active subscriber to the corresponding list. Their comment can be found there in the ‘Tip or suggestion’ field.

You can export both lists to Excel and merge the tips and suggestions into a single file there. If you like, you can then remove the subscribers from these lists again so you do not keep duplicate active subscribers in your account.
These buttons are separate from the feedback that subscribers give when unsubscribing. You can find that via Viewing feedback from your subscribers.